Looking for a cute and simple edging pattern for your blanket? Try this crochet moss stitch border!

As the same suggests, this border pattern uses the moss stitch to add a very simple and elegant finishing touch to your crochet project. You can use the moss stitch border on blankets, placemats, scarves, or really any project that needs a nice border.
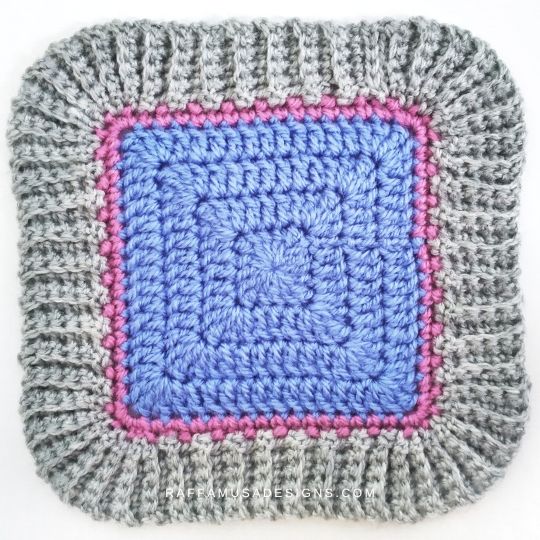
I used the moss stitch border for my C2C Waffle Baby Blanket. The blanket is already full of texture, so I wanted a simple border that wouldn’t add any bulk to my finished blanket.

And the moss stitch is perfect for that! It is light, simple, and elegant!
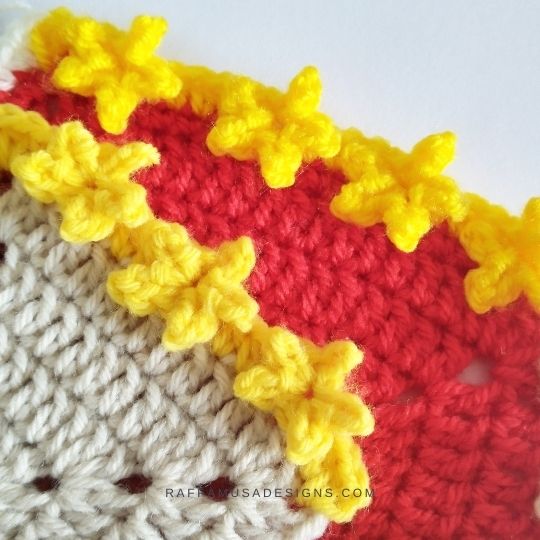
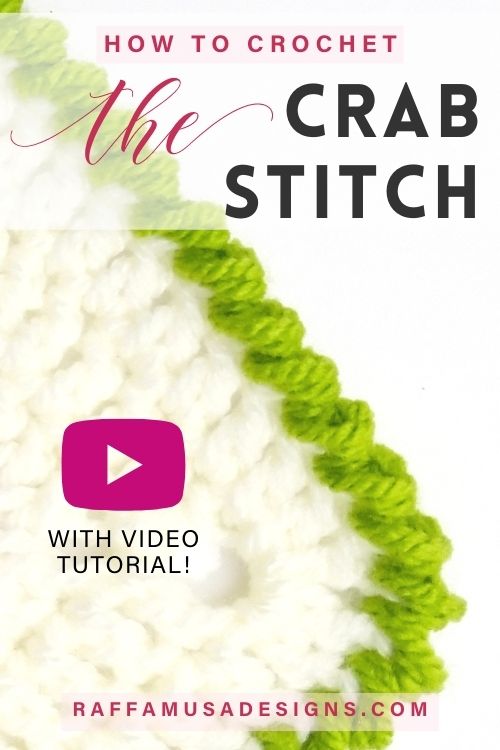
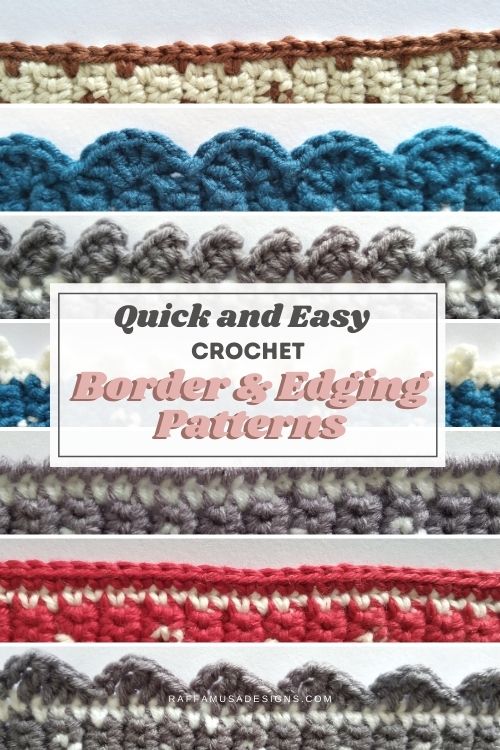
Find more border and edging ideas here on the blog…

Save this border pattern for later by pinning it to your favorite crochet board using this pin!

Note: This post contains affiliate links. If you purchase something through the links on my blog, I might earn a commission. This will not have any effect on the price you pay. For more info, please, see my Privacy Policy.
MATERIALS
- Yarn of choice
- Appropriate hook size
For this tutorial, I used Aran-weight acrylic yarn (Paintbox Yarns Simply Aran) and a 6.0-mm (J/10 US, 4 UK) crochet hook.
ABBREVIATIONS (US TERMS)
- Ch – Chain
- RS – Right Side
- Sc – Single Crochet
- Sk – Skip
- St – Stitch
PATTERN NOTES
- If the pattern says “sc 2”, you have to crochet 1 sc in each of the next 2 sts.
- *… – Repeat the instructions from * for the indicated number of times.
- […] – Crochet the instructions within brackets all in the same indicated st.

Crochet Moss Stitch Border – Pattern
RS facing, join your yarn in any corner of your blanket or project.
Preparatory Round. Sc all around making sure to have an uneven number of stitches on each side. At the corners, ch 1. Sl st in the first sc to join.
Round 1. Ch 2 (counts as an initial ch and a ch-1 sp). Sk the first sc, sc 1 in the next st, *ch 1, sk next sc, sc 1 in the next ch-1 sp. Repeat from * all around. At the corners, [sc 1, ch 1 (corner), sc 1] in ch-1 sp from the previous round. Sl st in first ch-1 sp to join.
Round 2. Ch 1 (does not count as a st), and sc 1 in same ch-1 sp. *Ch 1, sk next sc, sc 1 in the next ch-1 sp. Repeat from * all around. At the corners, [sc 1, ch 1 (corner), sc 1] in ch-1 sp from the previous round. Sl st in first sc to join.
Repeat rounds 1 and 2 to grow your moss stitch border as large as you need.
Fasten off and weave in your ends.
Your Moss stitch border is ready!
I’m looking forward to seeing how you’re going to use the crochet moss stitch border! Please, share a pic of your work on Facebook and Instagram using the hashtag #raffamusadesigns.
Find more border and edging ideas here on the blog…

The post Crochet Moss Stitch Border appeared first on RaffamusaDesigns.


